
Imagine that you want to predict, for example, the creditworthiness of customers – ideally in real time. Moreover, you already have a predictive model written in Python, R, or Groovy. However, the last question remains – how to deploy a Machine Learning model?
Place your script as a web service
You’re in for a quick, easy, and fun process, and the key to it is the right tool. Put your model in an MLOps engine (such as here at Scoring.One), which is capable of processing thousands of queries for different predictive models at the same time.
You need a zip file for this purpose, and in it:
- a .pkl file – containing the model (serialized by using, for example, the .pickle or .dill package).
- a .csv file – specifying the model input variables.
- a .py file containing the scoring code.
Pack the files into a zip archive. Congratulations, you’ve done the hardest part 🙂
To do the exercise together, download the sample .zip from here and check out the free version of Scoring.One (you may also look at the documentation).
In the sample ZIP files you will find the script model_training.py, which will build a sample predictive model, and the script scoring_one_model_deployment.py, which will allow you to deploy the model using the API. It is necessary to point to API_KEY, which you will find in User Settings -> Authentication Token. You can also deploy the model from the user interface, which is described below.
Time for pleasure, or application of the Machine Learning model
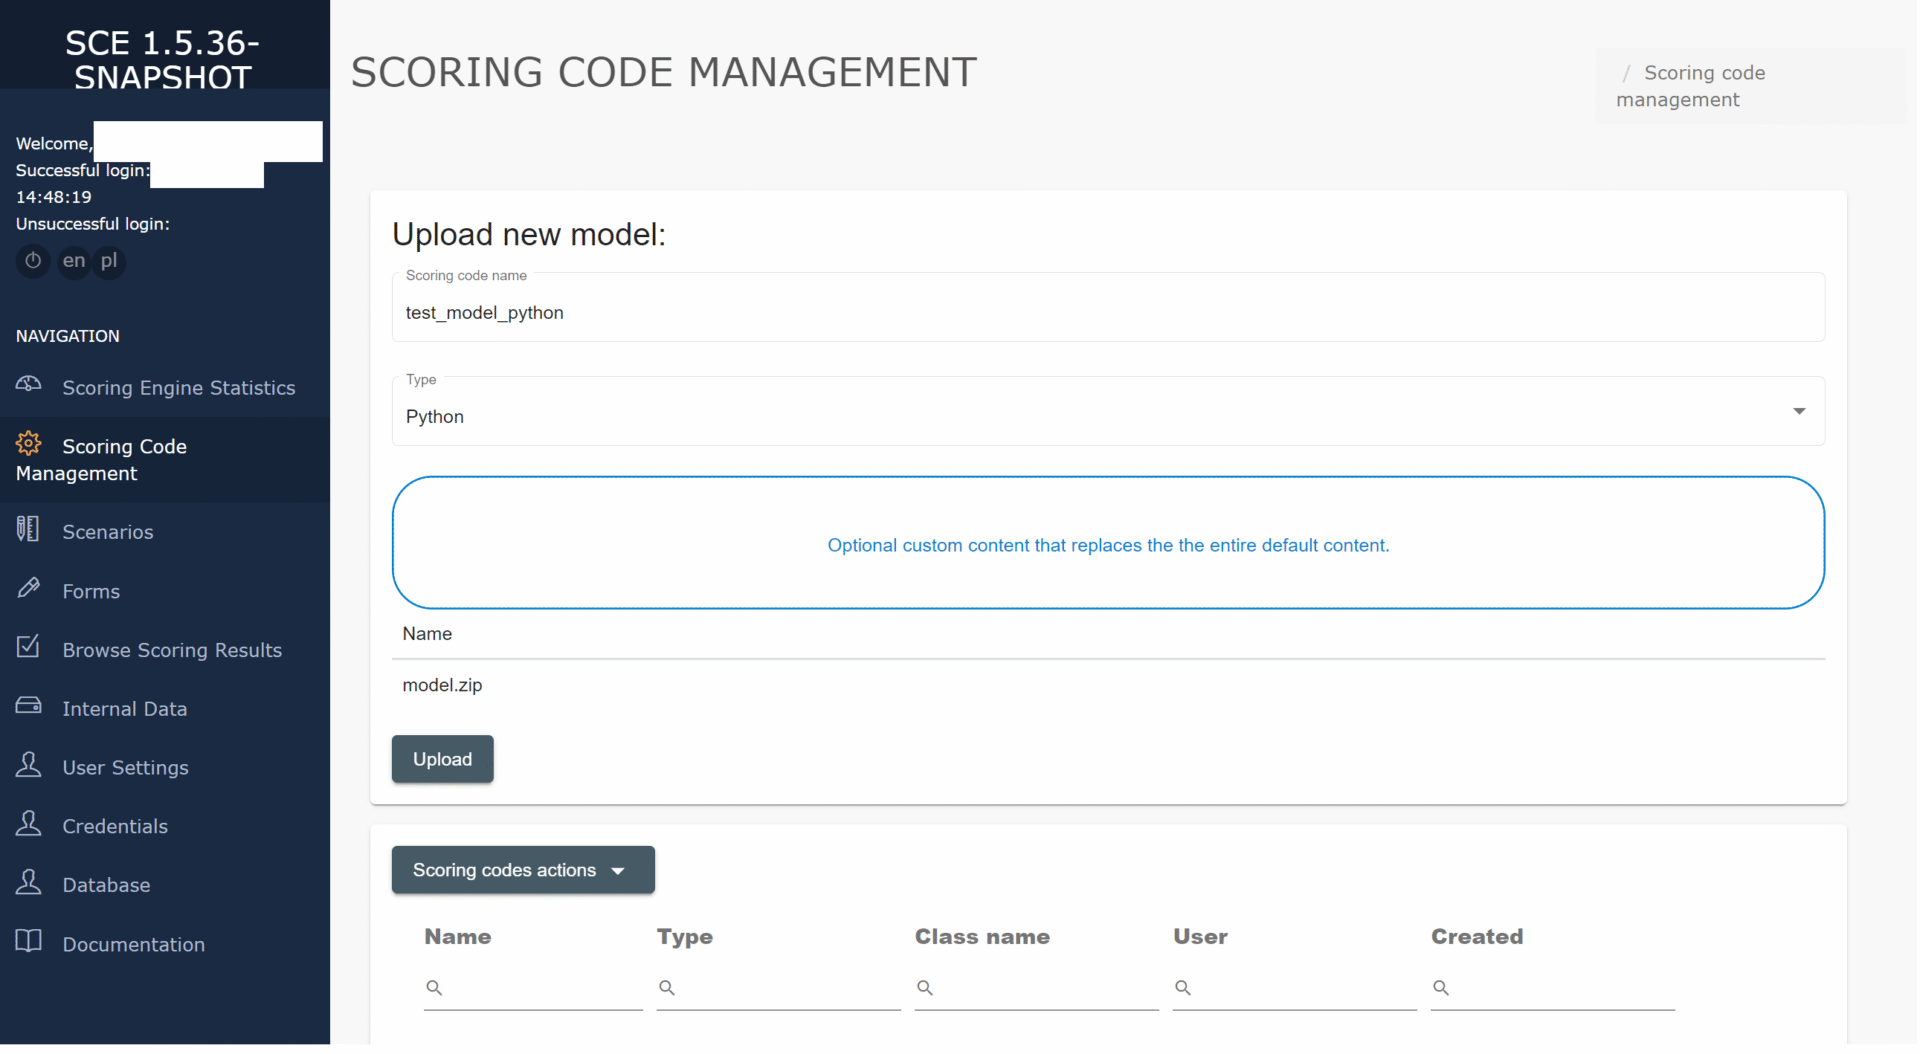
Go to the „Scoring Code Management” tab and select the option to add a new code (Scoring codes actions -> Upload new model).
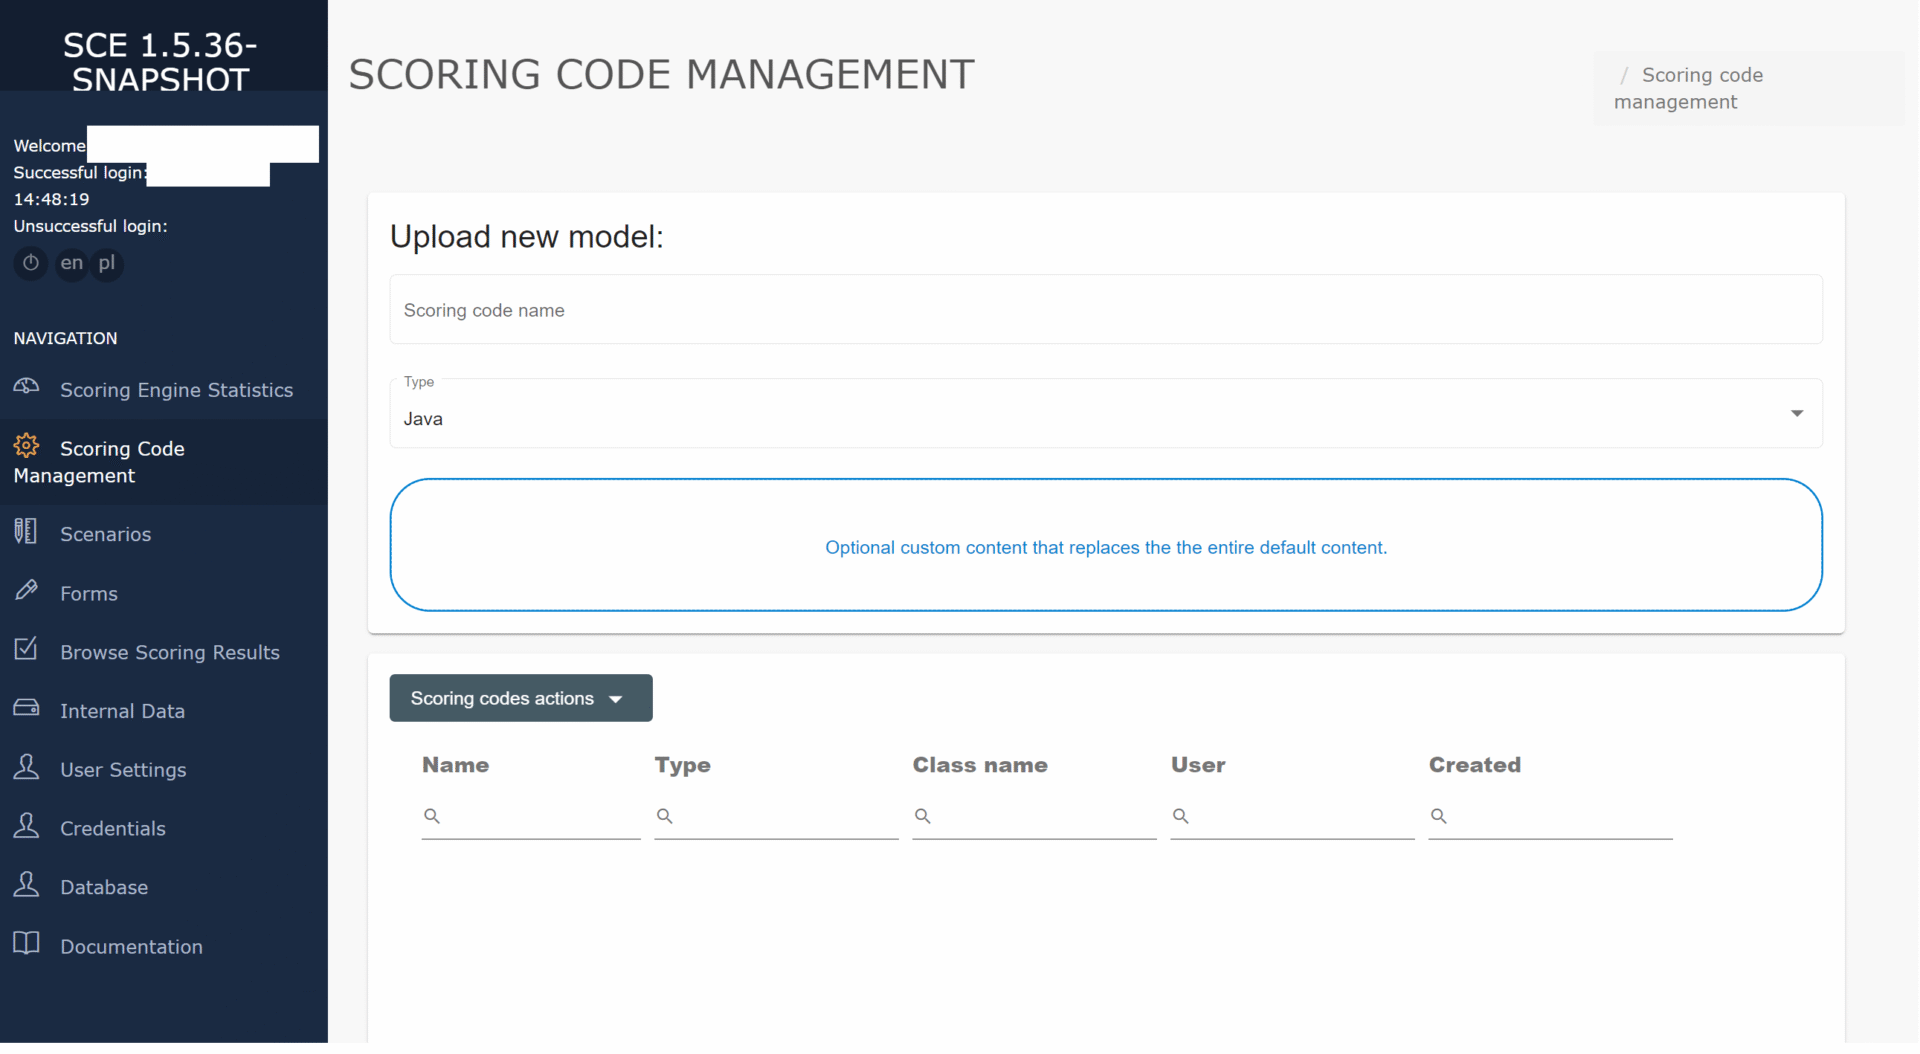
Then name your code (Scoring code name), select the type (Python), and drop the zip file you created earlier into the designated location.
Create a scoring scenario in Scoring.One
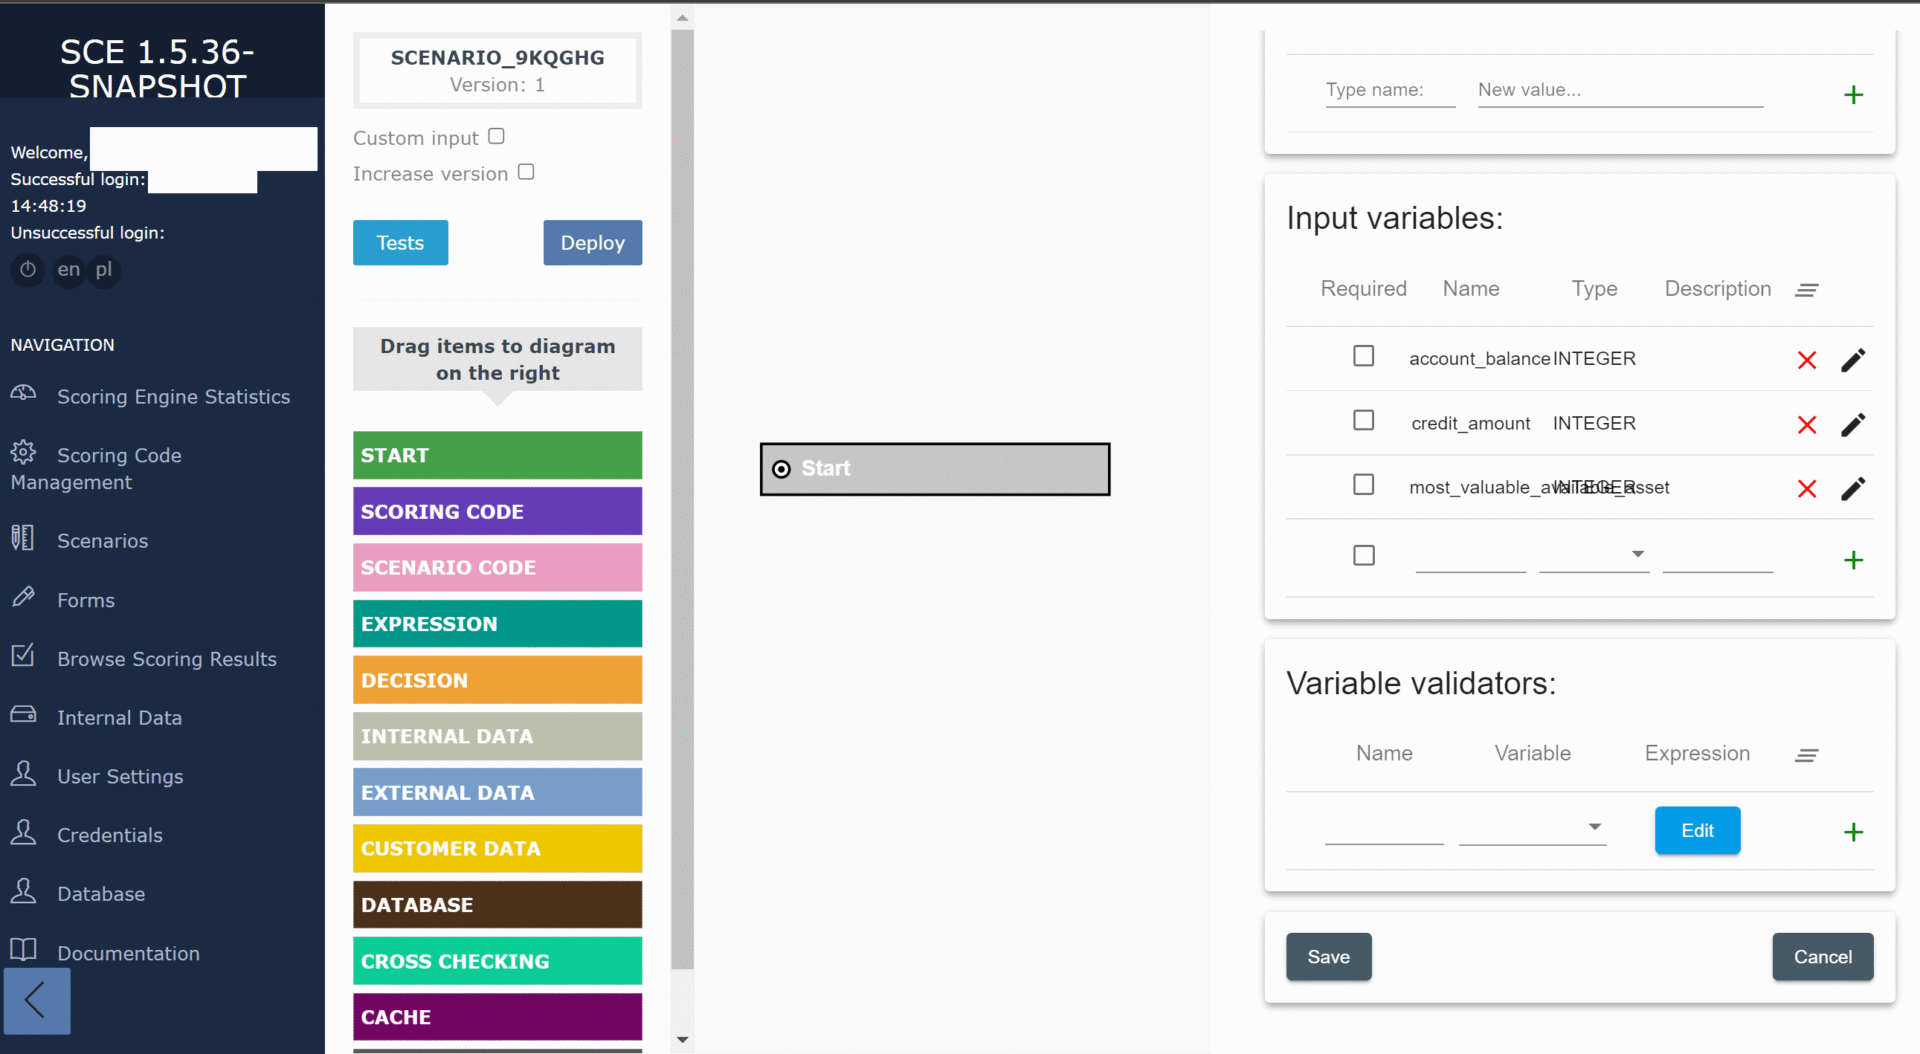
Once you’ve saved the code, it’s time for your script – select create a new one in the panel on the left. Start with the „Start” tile by dragging it to the middle of the screen (drag&drop method). In the Input Variables section… define the input variables: whether they are required, their name, and type. Optionally, you can write a short description. Click „Save”.
Then place the „Scoring Code” tile and the „End” tile in the space provided. Combine the items in the order you placed them.
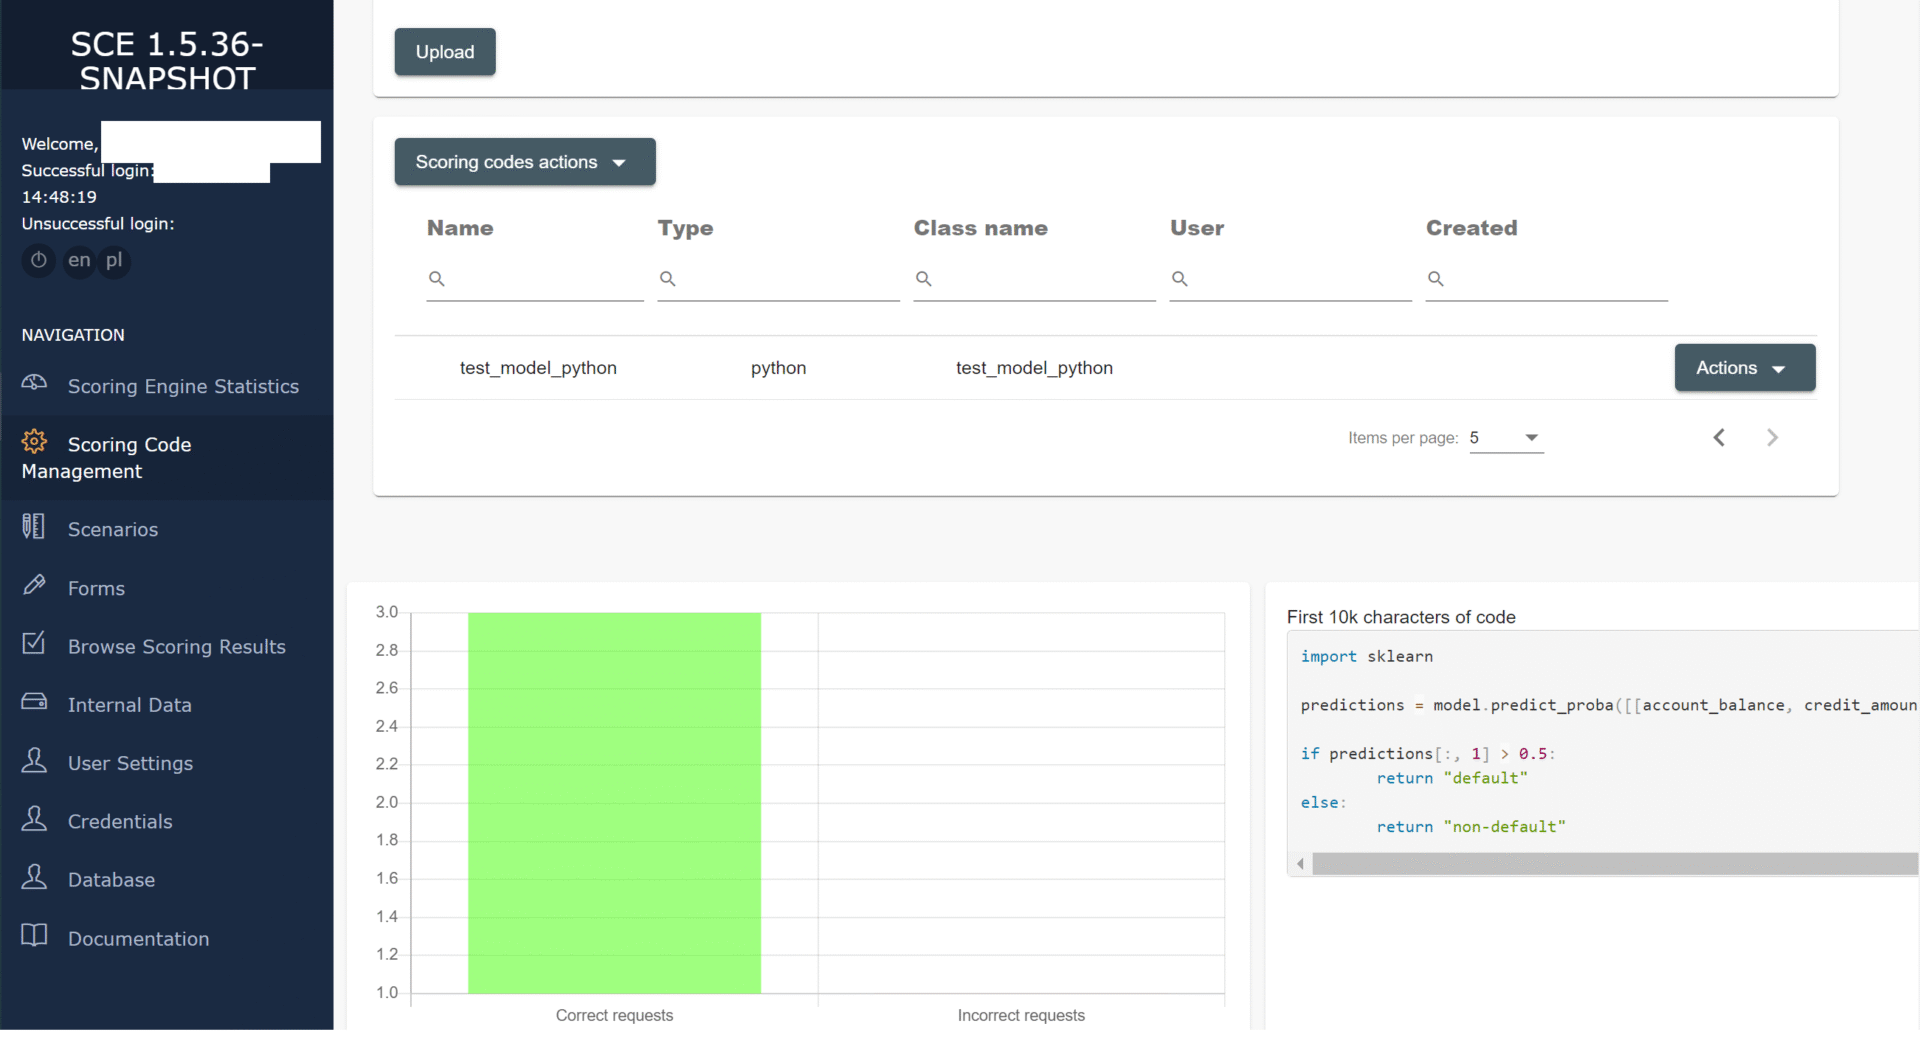
Now click on „Scoring Code” and select the code you uploaded earlier – this is where you will also import the variables. Save the scenario, then click „Save”. This will process the data, and under „End” you can select the variables returned as the result of the scenario. Click „Deploy” again.
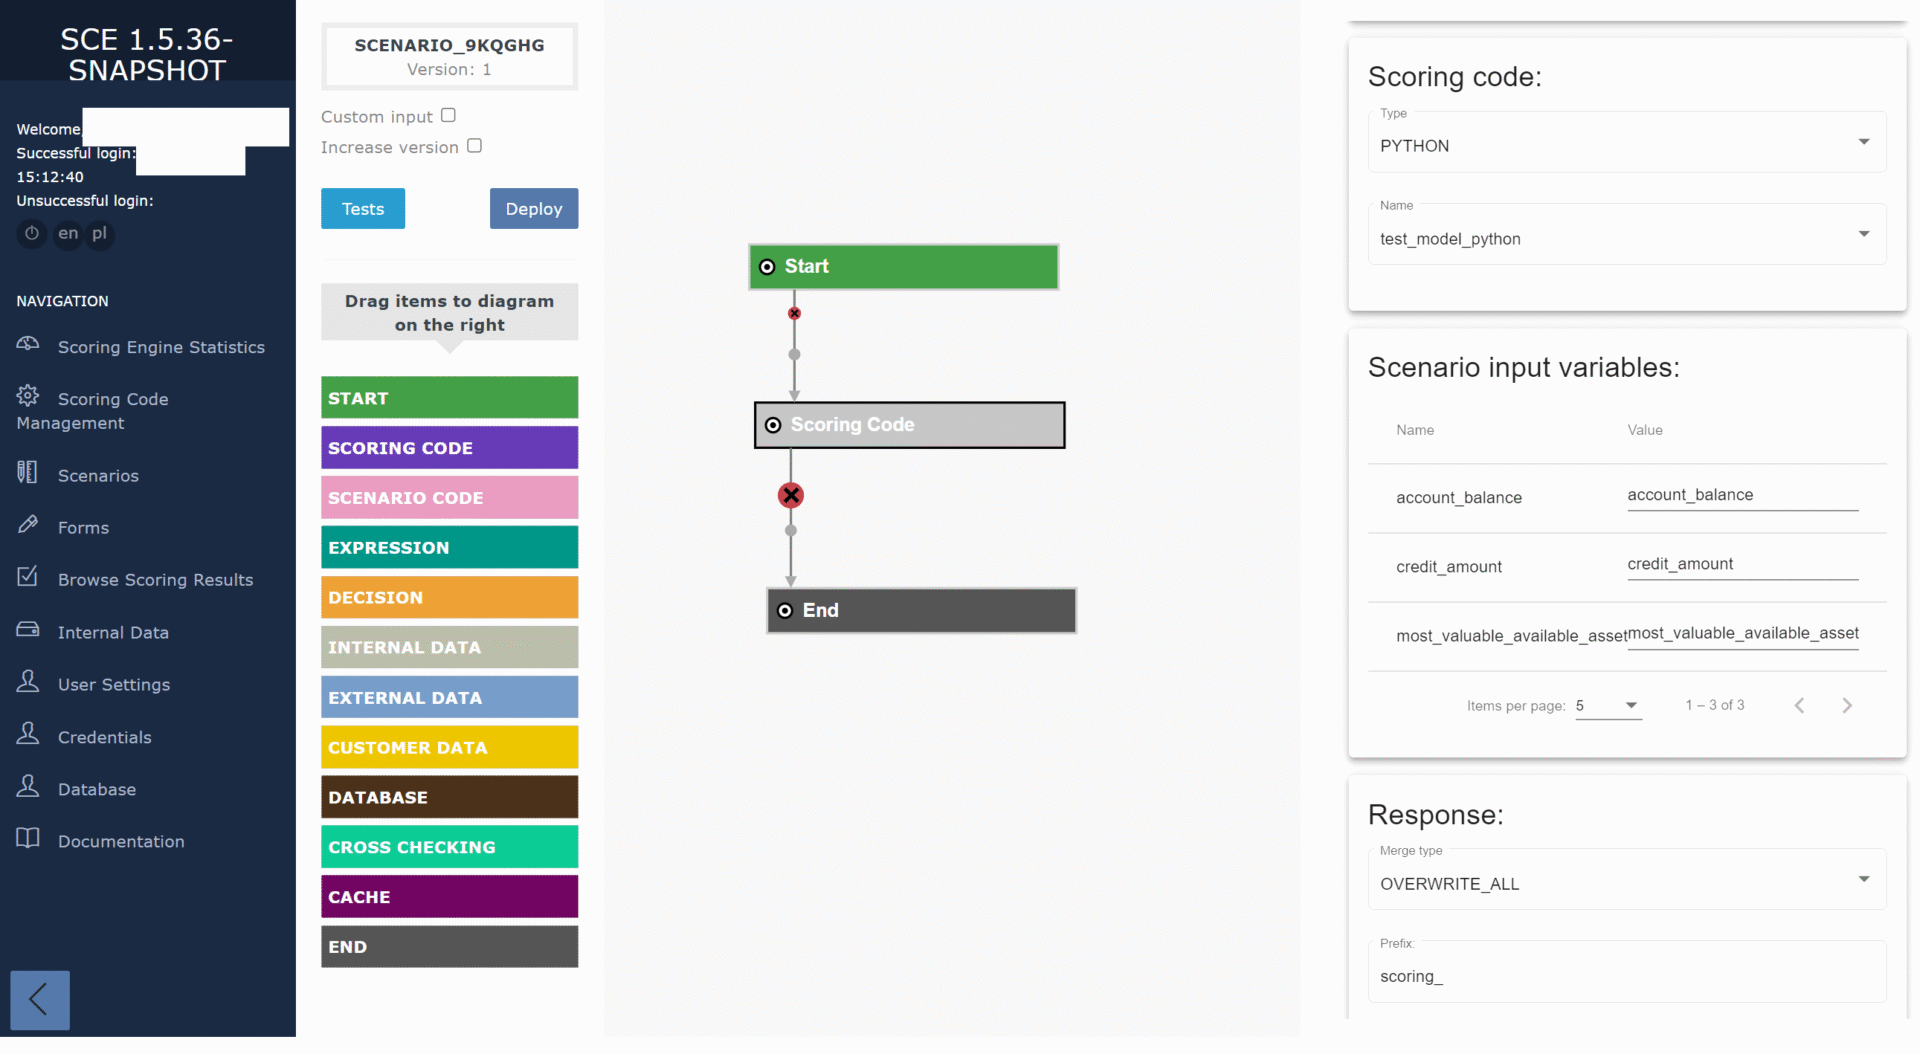
Your scenario is ready, how about testing it?
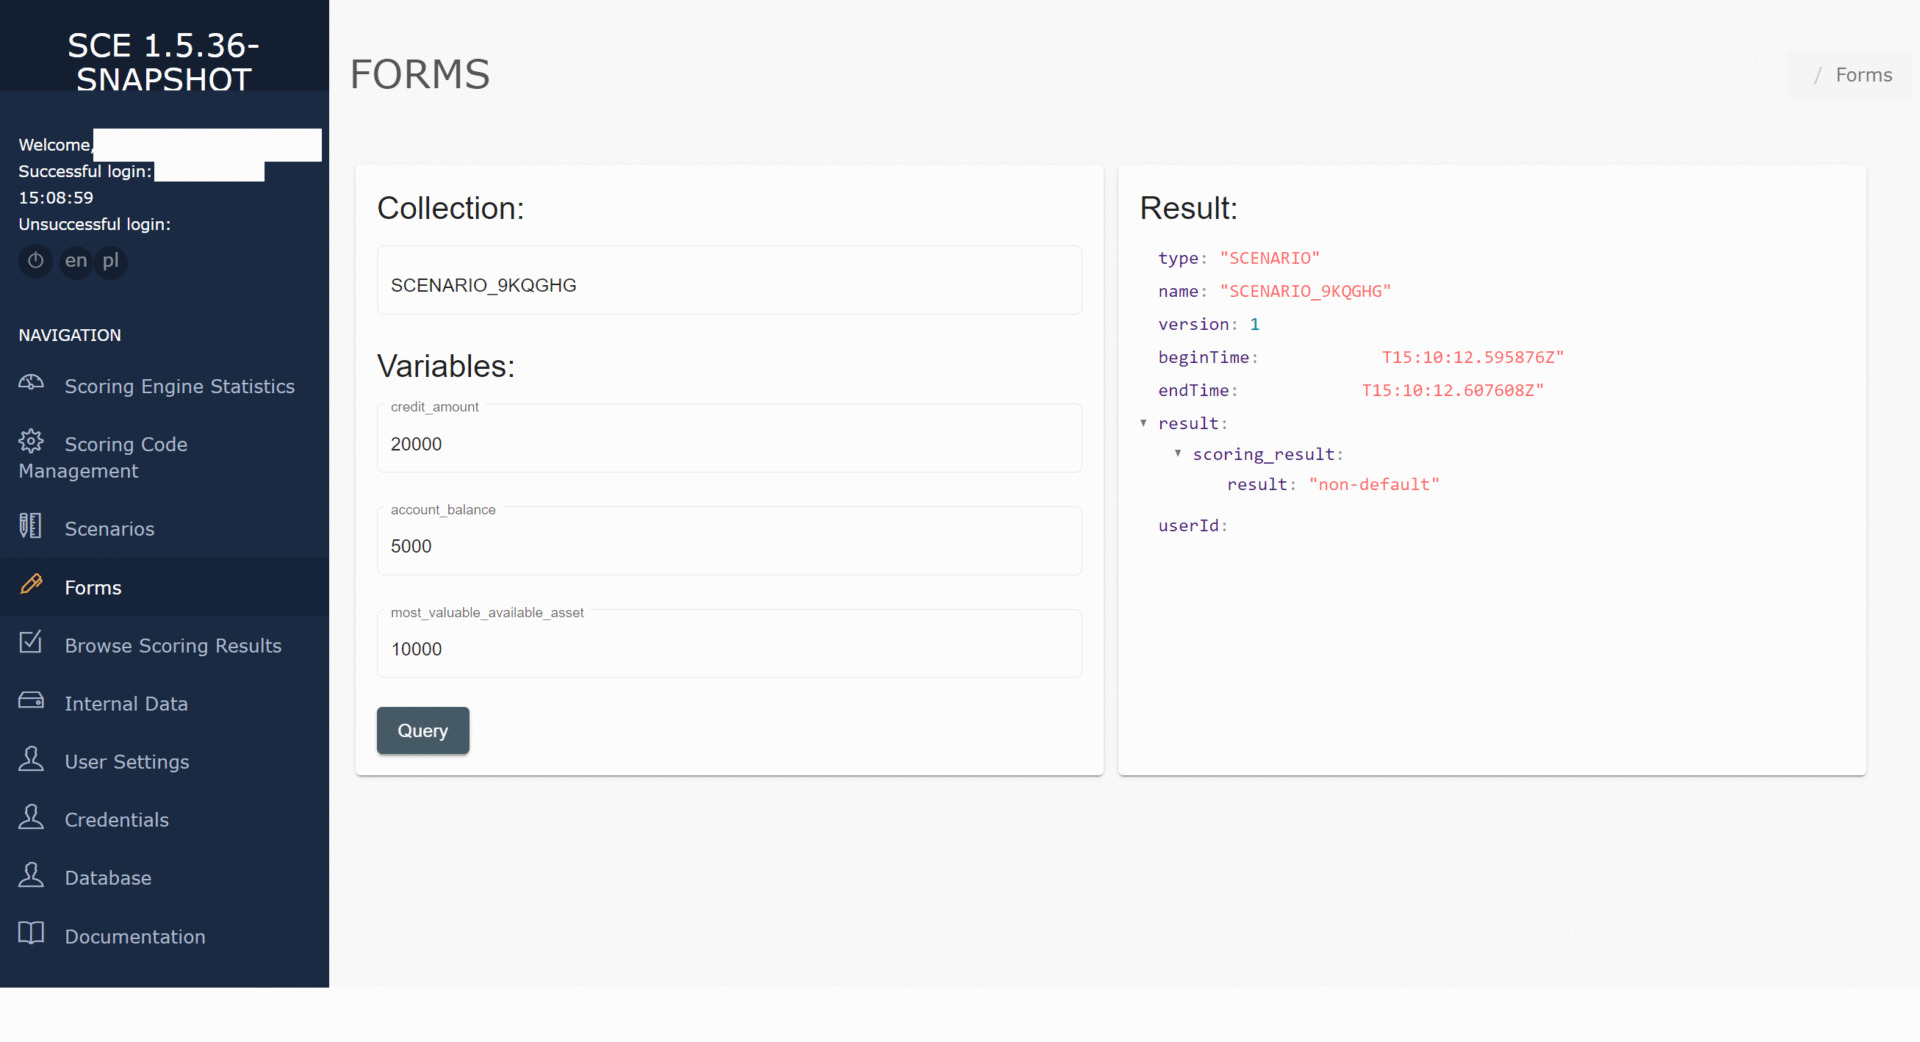
Testing your model
The test will be as quick as dragging and clicking on the tiles. Select „Forms”, find the scenario, and fill in the data. As a result, you will get a scoring score which will be stored as a result variable. And there you go, model queried!
Your model has been produced and validated, so go ahead and start your customer assessment. Remember, though, that you can also use Scoring.One to categorize the results you get – and we’ll discuss that process in the next article.